# Managing projects
You can access this by clicking on the organization icon on the sidebar. It provides an overview of all Projects you can access and the operations available for each:
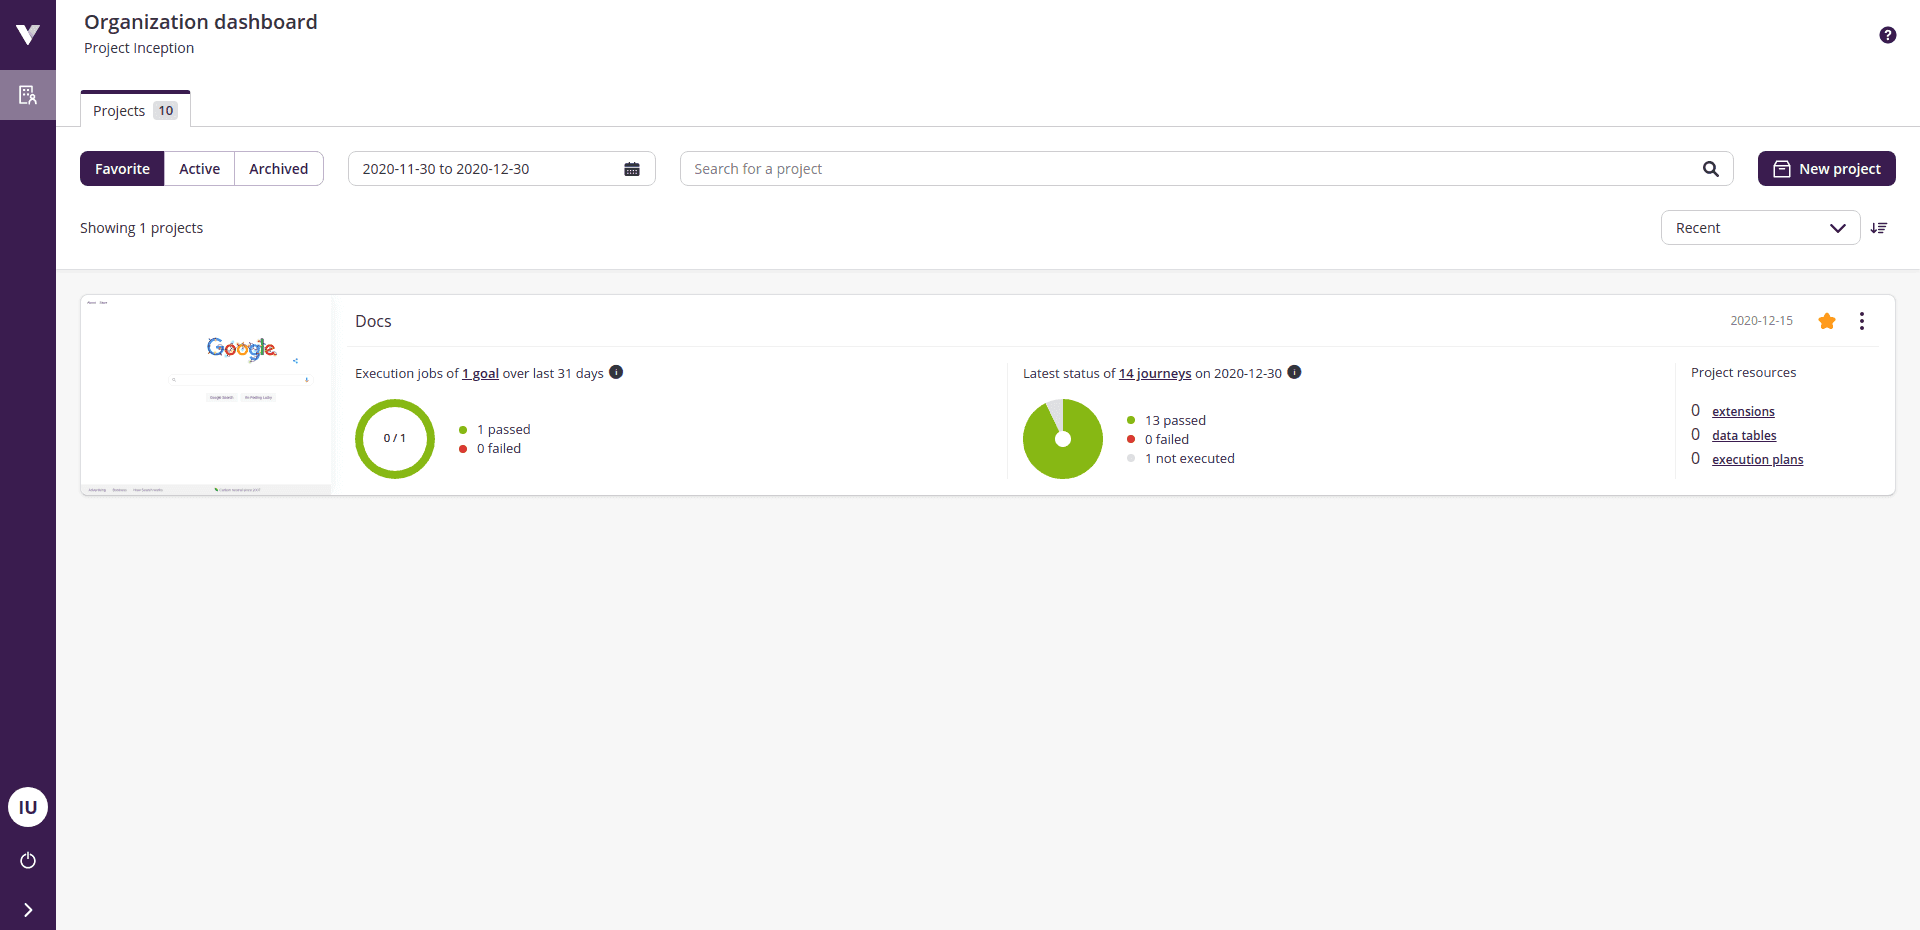
On top of the page, you have a button to create more projects and filtering options to control the information presented:
- Clicking on the
New projectbutton will open theCreate projectpage; - Use the button group
Favorite - Active - Archivedto switch between those project categories (by default, if you have at least a favorite project, the UI will preselect this category for you on the first access);
Marking a project as a favorite
To mark a project as favorite, click on the add to favorites icon on the project's card.
- The date selector allows to refine the projects related statistics shown in the charts for each project;
- Typing in
Search for a projectwill limit the results shown depending on your input and the category you are seeing at the moment, it filters by the project names at the time you type; - On the top right, there is a selector with a sorting icon to sort the list of the projects by certain properties (e.g., sort descending by creation date).
# Interacting with a project from the list

To access the project, click on the thumbnail on the left side of the project's card or in the project's title, both will redirect you to the project's dashboard page.
The left chart shows a summary of the executions of the project's goals during the period selected in the date filter. The other chart tells you how are the journeys of the project's goals doing within the selected date range (note that journeys executed before the selected date range are marked as not executed).
The right side of the card shows a list of the different resources being used by the project (e.g., number of extensions). Clicking on a resource name will open the management page for that entity (e.g., clicking on extensions will open the Extensions page for that project).
If the organization has installed apps and these have set up app links for a project, they will show up at the top of the project's card, next to the project title.
Finally, you can access project-level actions by clicking on the menu icon in the top right corner:
Renameopens a modal to change the name of the project;Shareshows the project share screen (for more information see Sharing);Manage requirementsredirects you to the project Requirements screen (see Requirements);Manage tagsopens the tag manager for that project (see Project tags);Manage webhooksredirects you to the Webhooks screen (see Webhooks);Add to/Remove from favoritesadds or removes the project from your favorites;Pin/Unpin projectcreates or removes project shortcut on the left menu (see Pinning items);Archive projecttoggles the archived state of a project. Archived projects are shown by clicking on theArchivedproject category on the filters bar and this action is replaced withRestore projectfor an archived project.
If you are an organization owner, you may want to read the Organization management guide where we cover additional sections present on this screen exclusive to owners to manage the organization.
# Sharing
You can share a project with other users by explicitly giving a certain access level to them or by sharing the project with a team (see more about teams at Managing teams) which the user is member of.
By default Virtuoso provides three built-in base roles that can be used to define the user's access level to your project:
Read, this role is typically used for "viewer" users, as it does not allow to create tests or plans, neither to execute tests;Write, this role can create and execute tests as well as execution plans, but it does not allow to do management tasks such as changing access level of a user;Manage, this role can create and execute tests and execution plans and can do management tasks.
# Sharing your project with other users
You can share your project with other users following these steps:
- Open the menu associated with the project you want to share;
- Click on the
Shareoption in the drop-down, this will openShare project; - Write the e-mail of the person you want to share the project within
Add userand press enter; - Select the desired role for the users (you can change this later if needed);
- Click on the
Sharebutton.
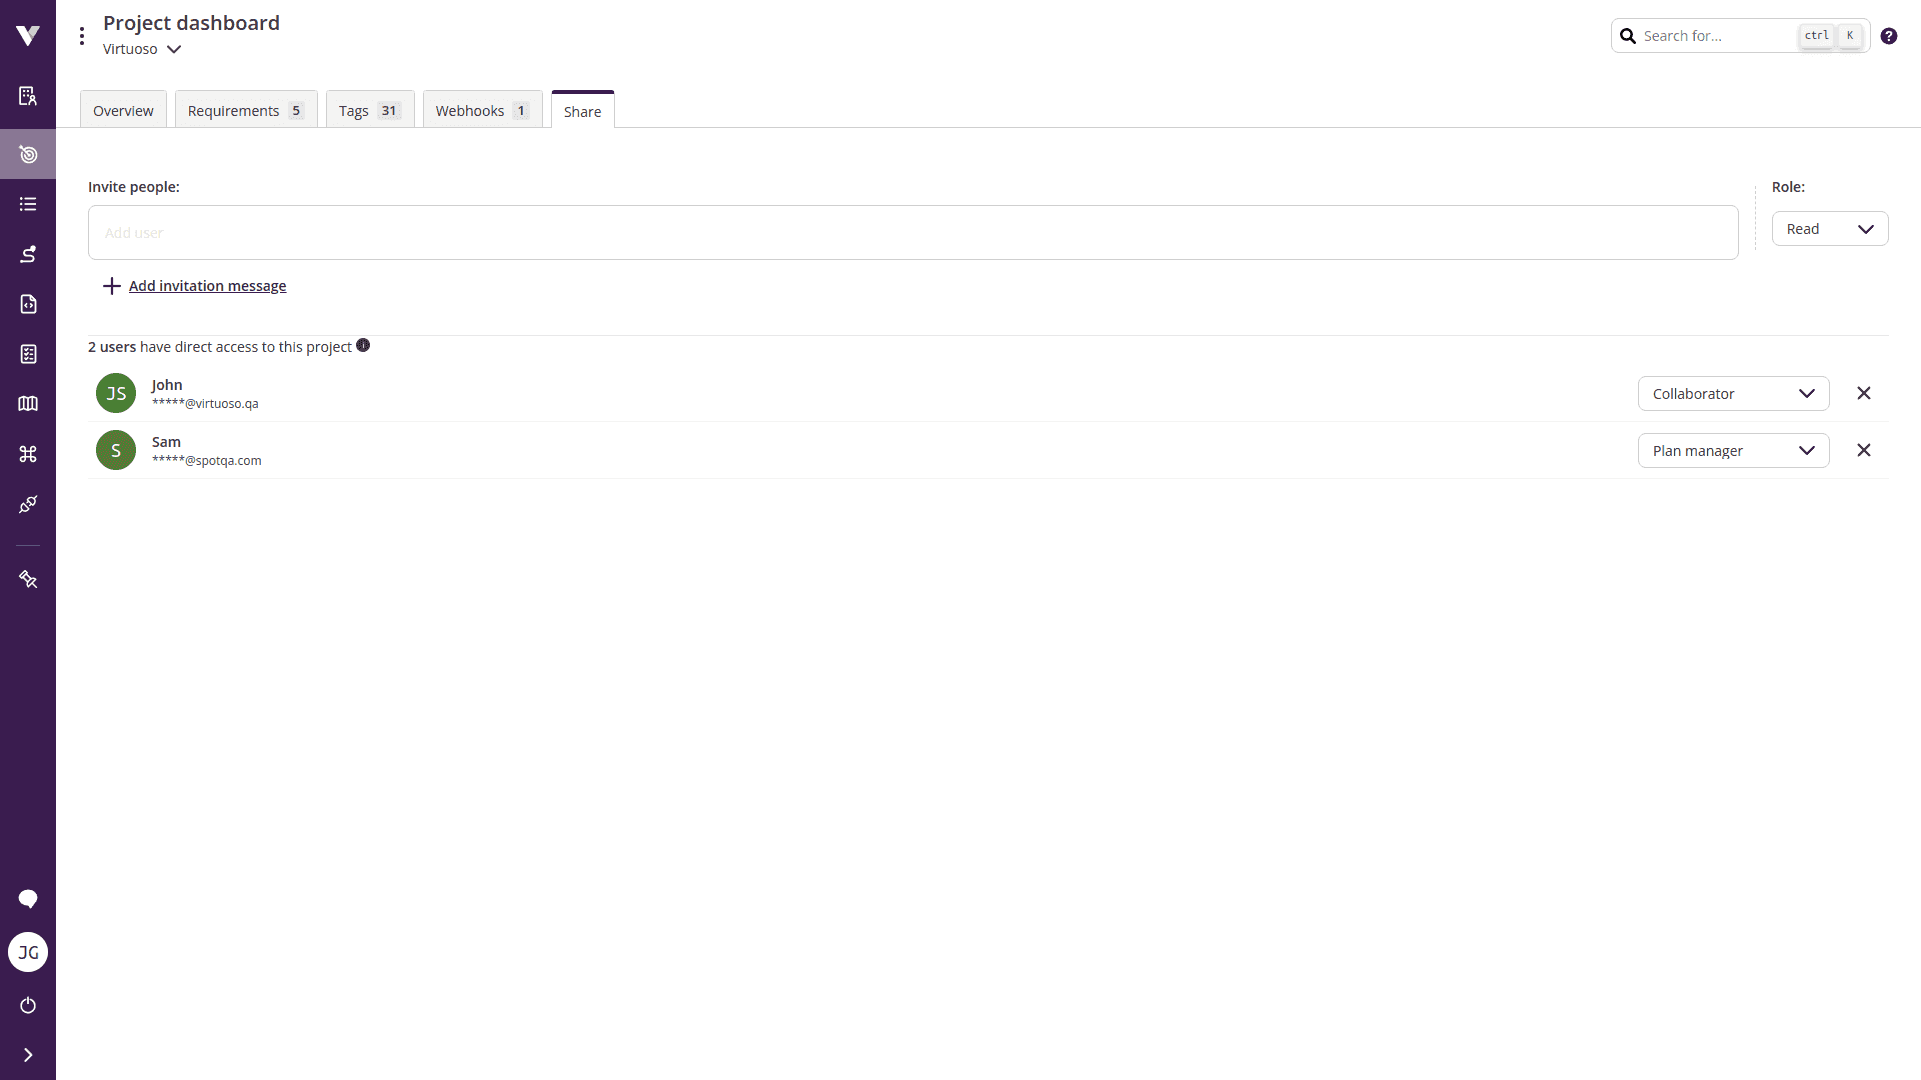
If later you want to update the project permissions of a user you can open the Share project component again and update as you see. You can also manage the access of other users to your project from the Project dashboard, there is a tab named Share, and clicking on it will show a similar view where you can invite new users or manage existing ones too.

Virtuoso will then send an email to the emails provided and if the invitee:
- Has an account: they will receive a notification and be automatically added to the project with the selected role;
- Doesn't have an account: they will be prompted to create a new account before they can collaborate in the project.
Organization members limit
The pending invites are considered while enforcing the limit on the number of organization members.
Organization owners can also do this from the Organization dashboard, by clicking on Members and the by clicking on any user you want to change the project permissions for one or more projects.

# Sharing your project with teams
Another way of sharing a project is sharing it with a team instead of a single user (this can be useful when dealing with larger number of users in your organization). To do so organization owners can open the Organization dashboard and click on the tab Teams and follow the next steps:
- Click on the team you wish to share your project with (this will open a side panel for this team);
- Now click on the tab
Projectsof the team side panel; - Click on
Add project to teambutton; - The first thing is to choose which project you want to share with this team;
- And then you have to pick the project permissions that this team will have over this project;
- Finally, click on
Add projectto persist the changes.
Note that you can always come back to this screen and update the project permissions of the team (or revoke it if needed).

# About the effective permissions of a user
Given that you can share a project with a user by assigning project permissions directly to the user but also by assigning project permissions to a team which the user belongs to, the effective result of it will be a combination of them.
For example, if a user has direct access to a project with Read, and via two teams one with Write and permission to execute journeys, and another with Write and permission to create and edit plans, the effective access to that specific project will be Write with permission to execute journeys as well as permission to create and edit plans.
On the other hand, if that user is removed from the team that has the ability to execute journeys, then the effective permission becomes Write with permission to create and edit plans but not to execute journeys.
# Project roles
If you find that none of the Virtuoso built-in base roles fits your needs, you can extend these by using granular permissions. For example, you need a user that can create tests but should not edit execution plans. You can create custom project roles that can be applied to either users or teams.
A project role is composed by two parts:
- The base access level:
Read,WriteandManage(explained above in this guide); - The granular permissions:
- Execute journeys;
- Create or edit the following Virtuoso entities:
- API tests;
- Data tables;
- Environments;
- Extensions;
- Plans.
# Managing project roles
If you have enough permissions within your organization (e.g., you are an organization owner), go to the Organization dashboard look for a tab named Roles and click on it.
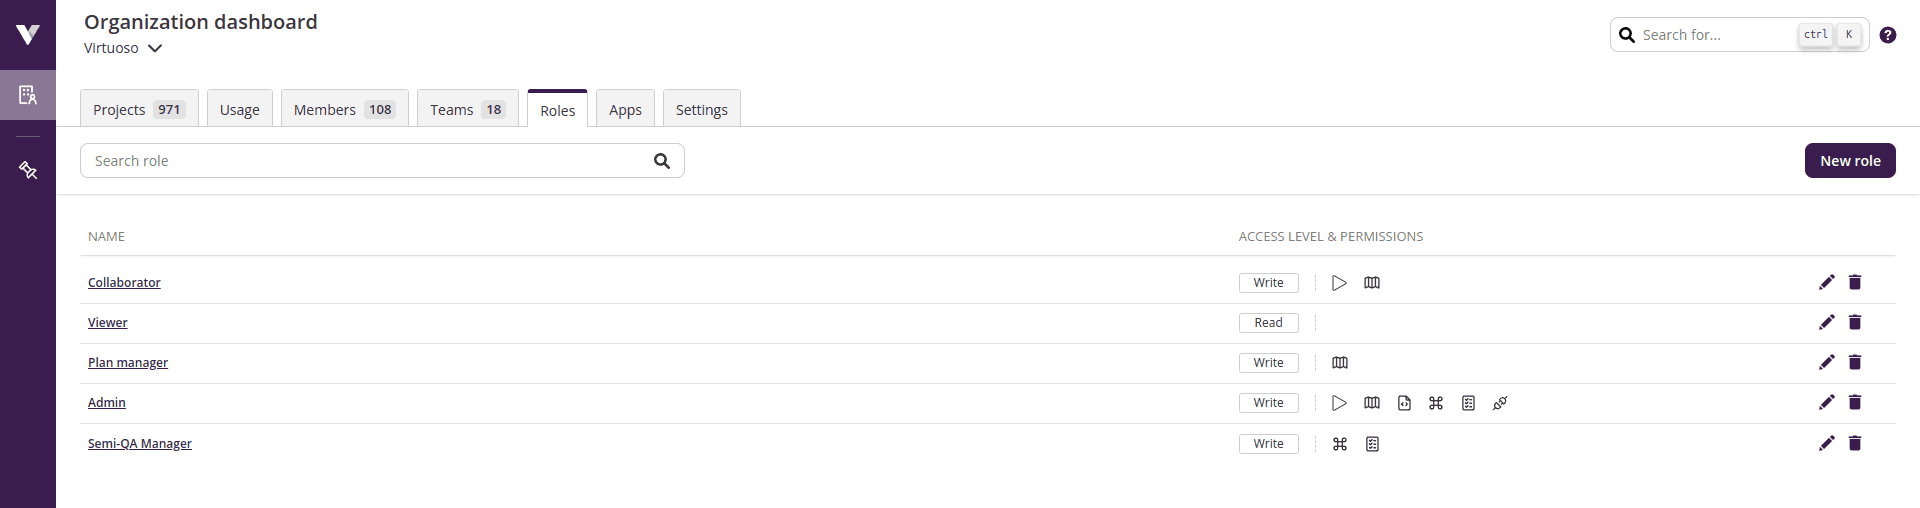
This screen shows the existing project roles and allows you to create new ones (as well as updating or removing existing ones).
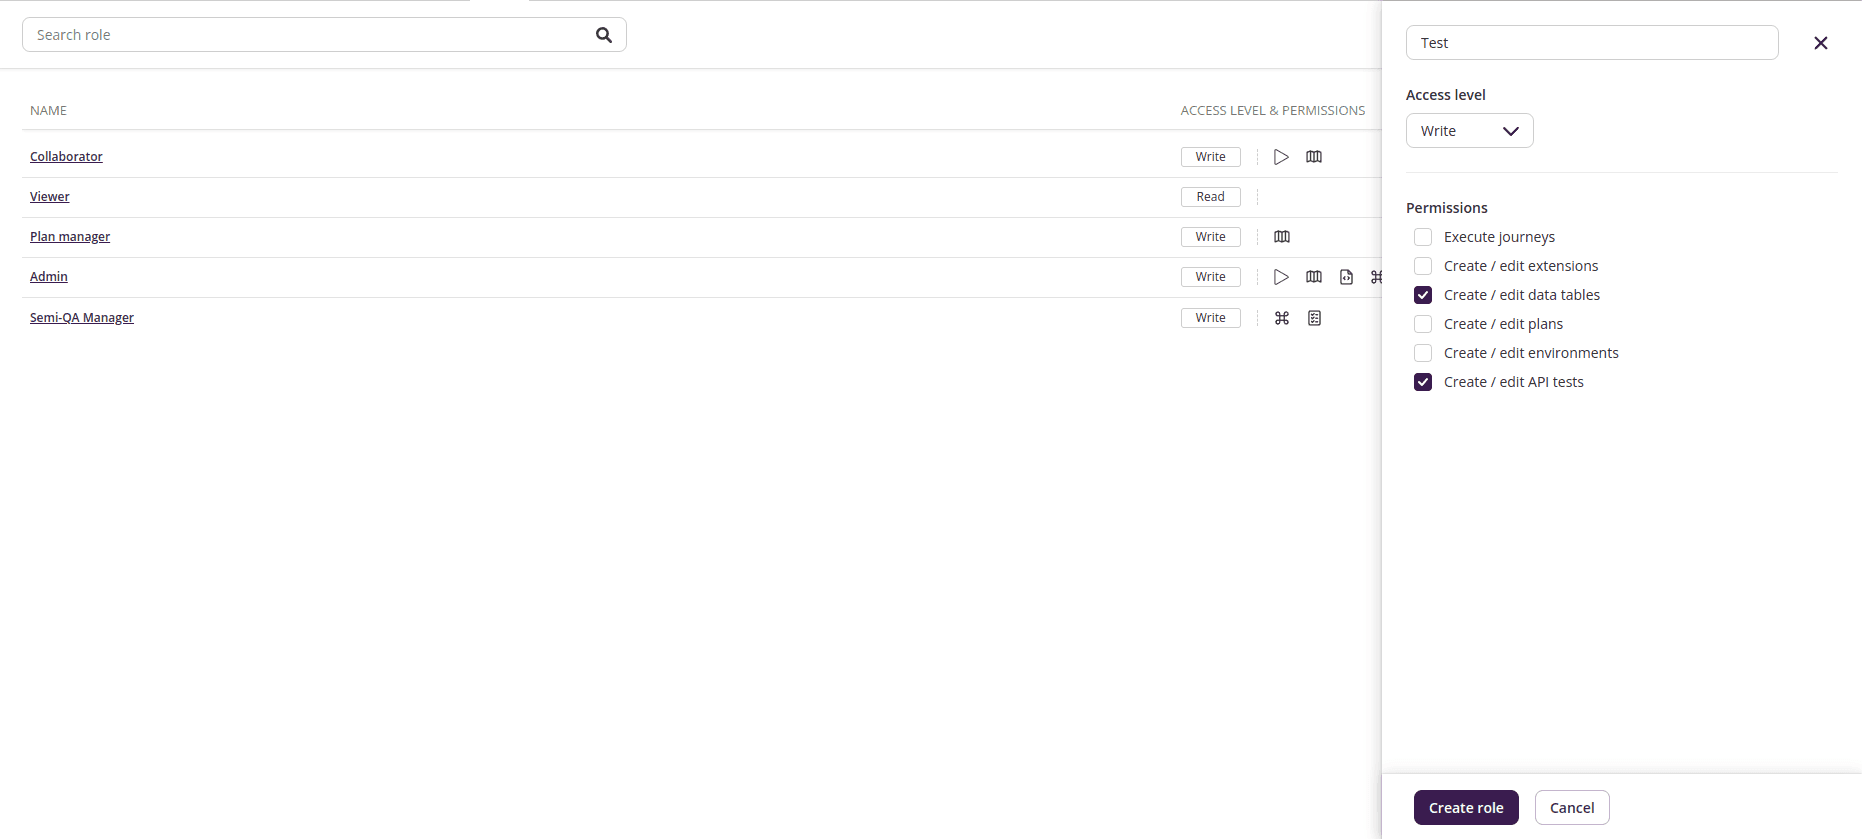
# Creating a project role
- Click on
New rolebutton; - Fill the name for your project role;
- Select the base access level;
- Enable each of the available granular permissions as you wish;
- Click on
Create role.
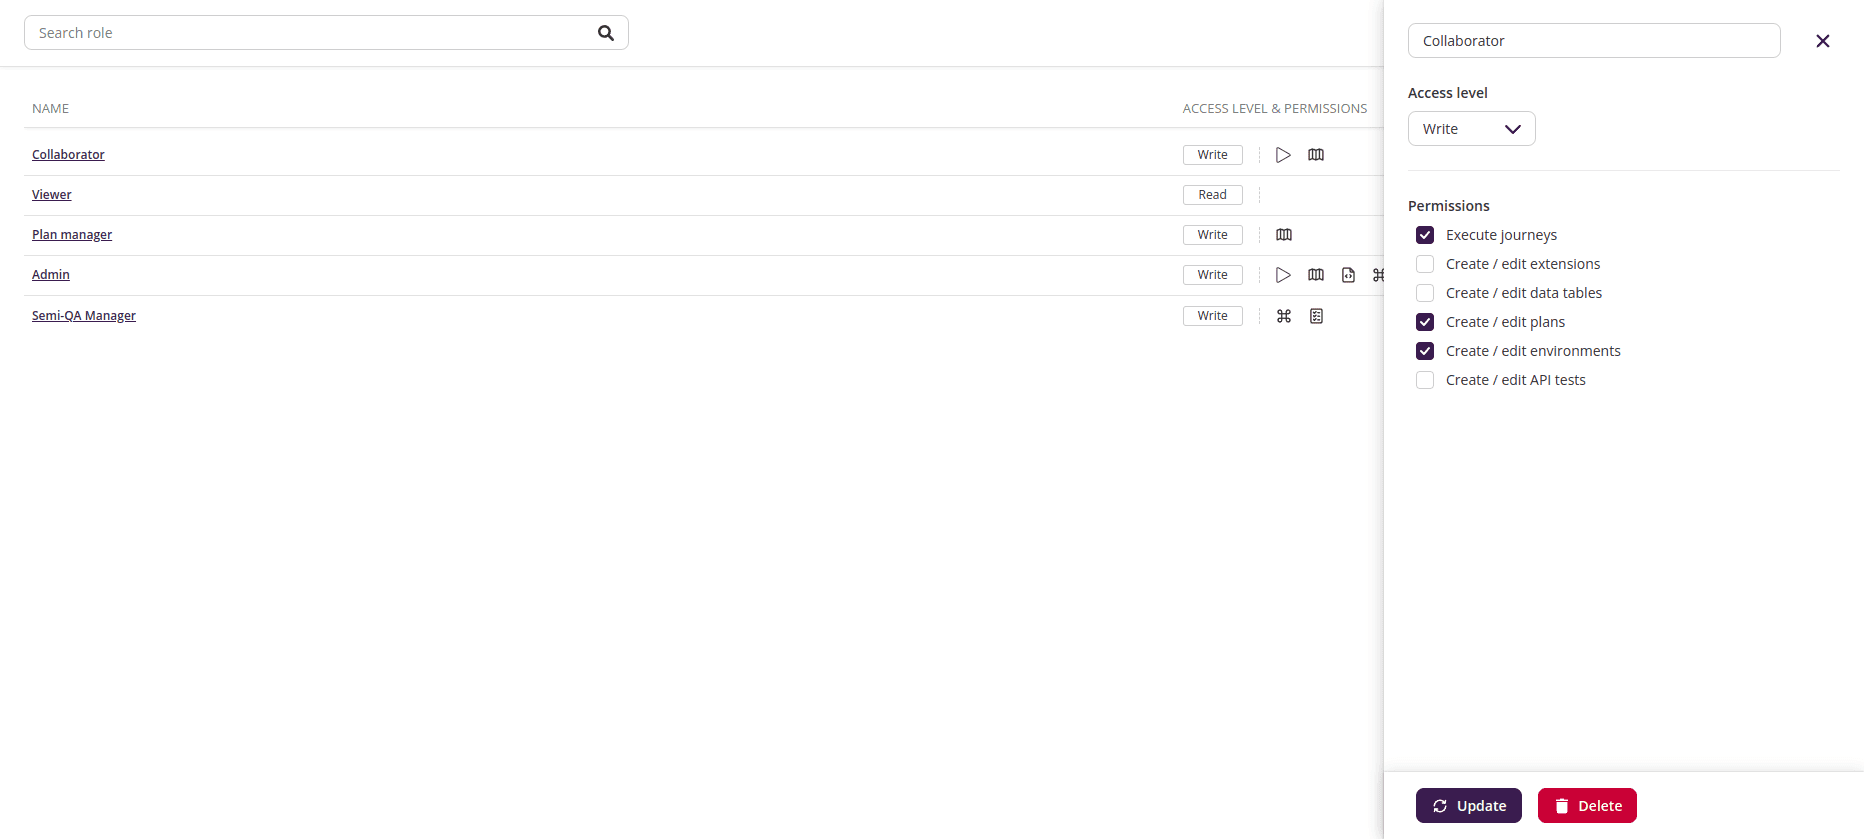
# Updating a project role
- Look for the project role you wish to edit in the table (tip: use the search box if there are many, or sort by name);
- Click on the edit icon at the end of the row;
- A side panel will open similar to the one used to create a new project role, once done click on
Updateto persist your changes.
# Removing a project role
- Look for the project role you wish to edit in the table (tip: use the search box if there are many, or sort by name);
- Click on the bin icon at the end of the row;
Cannot remove a project role in use
A project role that is assigned to one or more users or to one or more teams cannot be removed. To do so, you have to unlink it from all the entities that are linked to it (e.g., by changing the role of each user and team using it).
# Using your own project roles
If after reading this guide you found custom project roles is what you need for sharing your project, the next immediate step is asking yourself how to use them for sharing your project with other users or teams.
Given that project roles are just extended Virtuoso base roles, once you create a project role it can be used as any other base role. You can follow the same process described in this guide, they will just appear as extra options for the role dropdown element of the project sharing views.
Once using a project role, the granular permissions will be shown as meaningful icons depending on which ones are enabled or not. They will show the full name hovering your mouse over them just in case you forgot what they mean.
# Share settings
Share settings allow you to maintain control over project access, giving information such as:
- Who has access;
- Pending invitations;
- Revoke access or pending invitations;
- Invite more people by name or email (Virtuoso provides existing users as suggestions);
- Select the access level for new project members.
# Configuring journey lifecycle
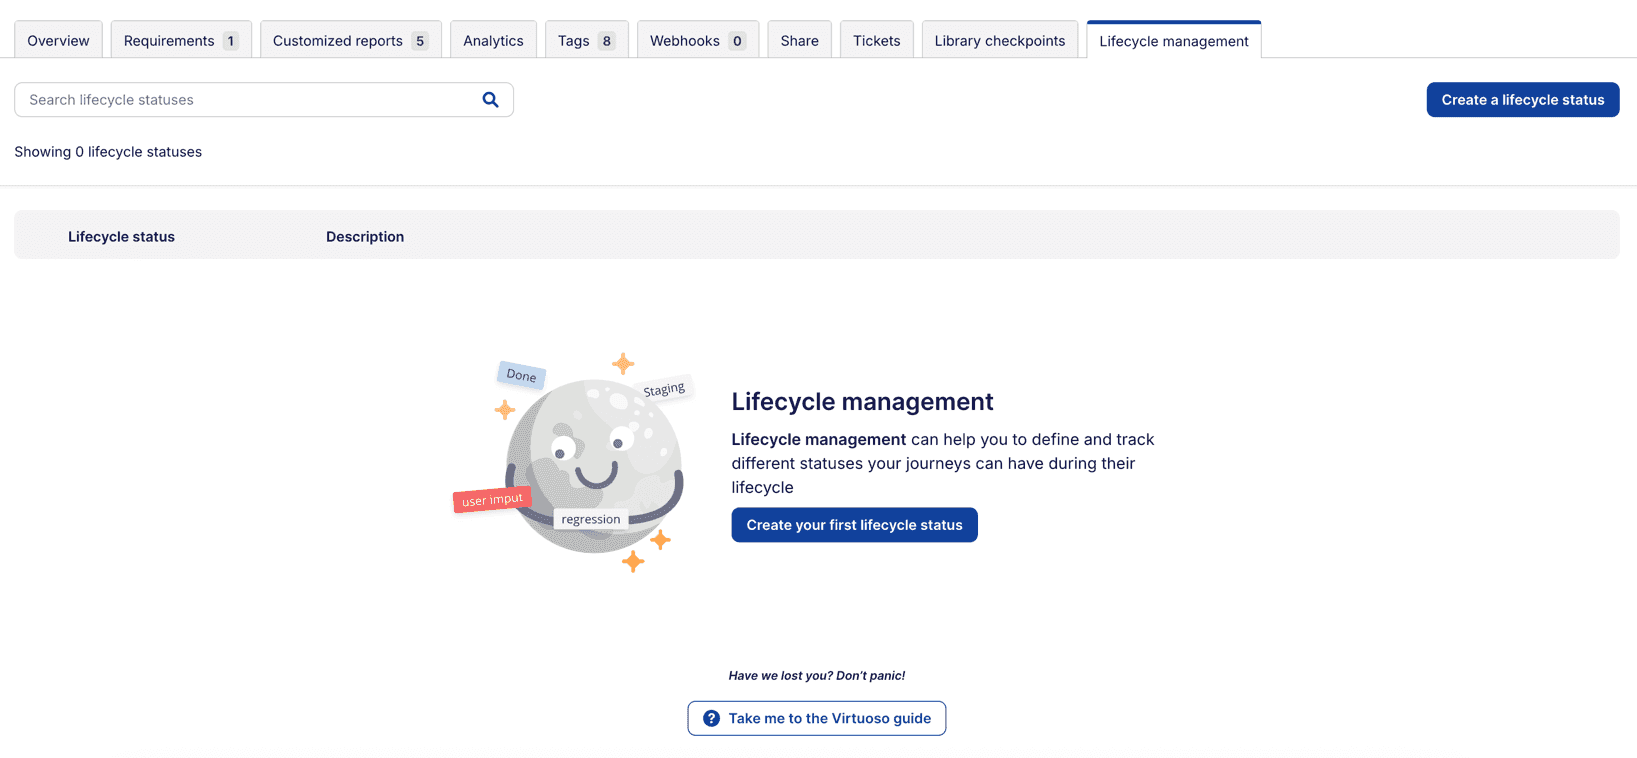
You can define custom lifecycle statuses for journeys at the project level. Once configured, these statuses appear in a dropdown on every journey within that project, allowing team members to track where each journey stands in your workflow.
To access the lifecycle settings, go to the Project dashboard and click on the Lifecycle management tab.
# Creating a lifecycle status
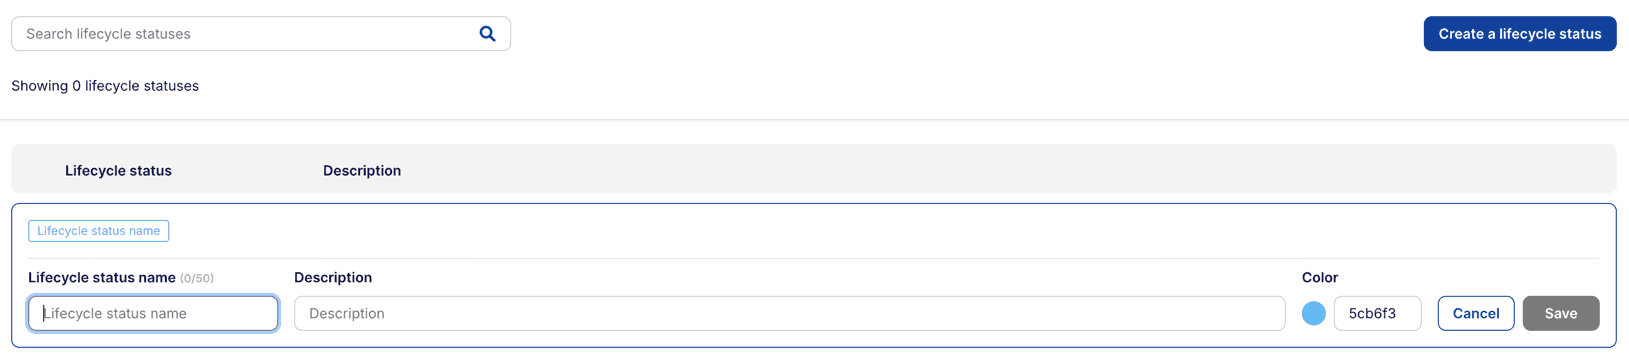
To create a new lifecycle status, click the Create a lifecycle status button and fill in:
- Lifecycle status name — A short name for the status (up to 50 characters);
- Description — An optional description explaining when this status should be used;
- Color — A color to visually distinguish this status in the UI.
Click Save to create the status.
# Managing lifecycle statuses
You can search for existing statuses using the search box. Each status row has the following options:
- Reorder — Drag the handle on the left to rearrange the order of statuses. This order determines how statuses appear in the dropdown;
- Edit — Click the edit icon to modify the name, description, or color;
- Delete — Click the delete icon to remove the status.
Deleting a lifecycle status in use
If you delete a lifecycle status, it will also be removed from any journeys that were using it.
Permissions
Users with Read or Write access can only view lifecycle statuses. Only organization owners or users with Manage project access can create, modify, or delete lifecycle statuses.